Welcome to this popular DIY project, where you’ll learn to sew a stylish flat-bottom zippered pouch with boxed corners for added structure and versatility. Perfect for beginners and experienced sewers alike, this tutorial guides you through creating a functional and customizable bag ideal for storing jewelry, makeup, or small essentials. Follow along for step-by-step instructions and tips to craft your own unique pouch with ease.
Overview of the Project and Its Uses
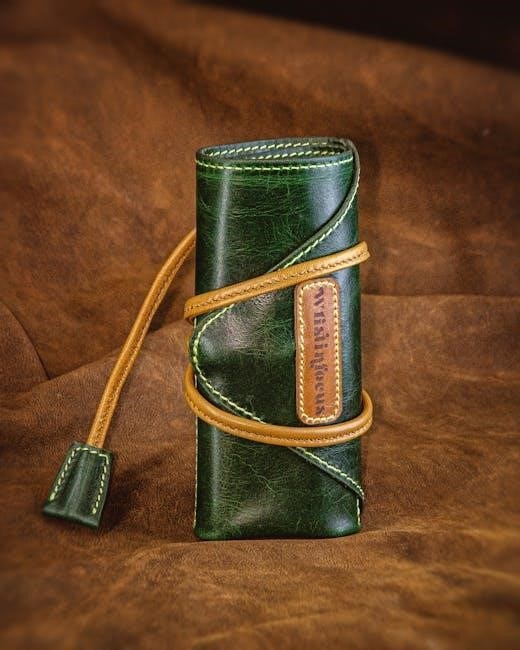
This flat-bottom zippered pouch is a versatile and practical sewing project that combines functionality with style. It’s perfect for storing small items like jewelry, makeup, or toiletries, making it a great addition to your daily routine or travel kit. The flat bottom design allows the pouch to stand upright, while the zippered closure ensures secure storage. This project is ideal for sewers of all skill levels, from beginners looking to practice working with zippers to more experienced crafters seeking a quick, customizable gift. The pouch can be made in various sizes, allowing you to tailor it to specific needs, such as a makeup bag, pencil case, or even a small project bag for knitting supplies. Its compact size and durable construction make it a handy solution for organizing essentials on the go.
Materials and Tools Needed
Gather main fabric, lining, and fusible interfacing. You’ll need a zipper, thread, and sewing notions. Essential tools include a sewing machine, scissors, pins, rulers, and an iron.
Required Fabrics and Notions
Your project will require three main types of fabric: a sturdy main fabric for the exterior, a lining fabric for the interior, and fusible interfacing to add stability. Choose a durable material like cotton or canvas for the main fabric, and a complementary or contrasting fabric for the lining to add a personalized touch. The interfacing should be iron-on to ensure a smooth application. Additionally, you’ll need a zipper that matches your pouch’s width, along with standard sewing notions such as thread and zipper tabs for a polished finish. Ensure all fabrics are pre-washed to prevent shrinkage and pressed before cutting for accuracy; These materials will ensure your pouch is both functional and visually appealing.
Essential Sewing Tools for the Project
To successfully complete your flat-bottom zippered pouch, you’ll need a few key sewing tools. Start with a sewing machine for stitching fabrics together efficiently. A rotary cutter and mat are ideal for accurate fabric cutting, while a ruler ensures straight edges. Sharp scissors are handy for trimming small pieces. For zipper installation, a zipper foot is highly recommended to navigate the zipper smoothly. A seam ripper is essential for correcting any mistakes. Use straight pins to secure fabrics in place, and an iron and ironing board for pressing seams and interfacing. Finally, a measuring tape will help verify your pouch’s dimensions. These tools will streamline the sewing process, ensuring professional-looking results for your flat-bottom zippered pouch.
Preparing the Pattern Pieces
Start by creating or printing your pattern pieces, ensuring accurate dimensions for a custom fit. Use the measurements to trace and cut out the main fabric, lining, and interfacing shapes precisely.
Understanding the Flat Bottom Design
A flat bottom design enhances the pouch’s functionality by providing a stable base, allowing it to stand upright. This feature is achieved by creating boxed corners during construction. By sewing straight lines across the corners, the sides and bottom align neatly, forming a flat surface. This method not only adds structural integrity but also maximizes the interior space, making the pouch more practical for storing items. The flat bottom ensures the pouch remains steady when placed on surfaces, preventing it from tipping over. This design element elevates the pouch from a simple zippered bag to a more polished and user-friendly accessory. By incorporating boxed corners, you achieve a professional finish that enhances both aesthetics and usability.
Calculating Dimensions for a Custom Fit
Calculating the perfect dimensions for your flat-bottom zippered pouch ensures it fits your needs. Start by determining the intended use—whether for makeup, jewelry, or small tools. Measure the items you plan to store to decide the length, height, and width. For example, a pouch measuring 9 1/2″ long, 7″ high, and 3″ wide is ideal for everyday essentials. Add a 3/8″ seam allowance to all sides to account for stitching. When creating boxed corners, ensure the depth matches the pouch’s width for a seamless flat bottom. Adjust the zipper length to match the pouch’s opening, and cut fabric pieces accordingly. This step ensures a custom fit and functionality, making your pouch both practical and tailored to your preferences. Proper dimension calculation is key to achieving a professional-looking and highly functional flat-bottom design.

Cutting the Fabric
Cut two pieces each from main fabric, lining, and fusible interfacing. Ensure accurate cuts using a rotary cutter and mat for straight edges. Fuse interfacing to the main fabric for stability before proceeding.
Accurate Cutting for Main Fabric, Lining, and Interfacing

Accurate cutting is essential for a professional finish. Begin by cutting two pieces each from your main fabric, lining, and fusible interfacing. Use a rotary cutter, mat, and ruler for precise cuts. Ensure the fabric is smooth and wrinkles-free before cutting. Align the pattern pieces carefully, double-checking measurements for consistency. Cut the main fabric and lining to the same dimensions, and the interfacing slightly smaller to prevent bulk. After cutting, label each piece to avoid confusion later. Fuse the interfacing to the wrong side of the main fabric, following the manufacturer’s instructions. This step adds stability and structure to the pouch. Proper cutting and preparation now ensure a smooth sewing process and a polished final product.
Constructing the Pouch
Assemble the pouch by sewing the sides and bottom, then create boxed corners for a flat bottom. Follow the tutorial for a polished, professional finish.
Attaching the Zipper
Begin by placing the zipper face down on the main fabric, aligning it with the top edge. Pin securely, ensuring the zipper teeth are centered. Sew in place using a 3/8 seam allowance, starting from the edge and backstitching at the beginning and end. Next, sandwich the zipper between the main fabric and lining, with the right sides together. Sew along the top edge, making sure the fabric doesn’t shift. Trim excess zipper ends and press the seams flat. To reinforce, topstitch along the zipper edges for a polished look. Finally, attach zipper tabs to the ends by folding fabric scraps and sewing them over the zipper stops. This step ensures a clean finish and prevents the zipper from fraying over time, completing the attachment securely and neatly.
Sewing the Sides and Bottom
With the zipper securely attached, bring the main fabric and lining together, ensuring the sides align perfectly. Place clips or pins along the edges to maintain alignment. Starting from the bottom edge, sew along the sides and across the base, using a 3/8 seam allowance. Backstitch at the beginning and end for durability. Make sure the corners are crisp and well-aligned by pulling the fabric taut as you sew. After sewing, press the seams flat with an iron to create a sharp crease. For a polished finish, topstitch along the sides and bottom, maintaining a consistent distance from the seam. This step ensures a sturdy and professional-looking pouch. Once complete, turn the pouch right side out and admire the clean, structured silhouette of your flat-bottom design.
Creating Boxed Corners for a Flat Bottom
To achieve the flat bottom, boxed corners are essential. Start by pulling the corners out at a 90-degree angle, ensuring the side seams align parallel to the base. Measure and mark a square at each corner, using the dimensions calculated earlier for a custom fit. Fold the fabric along the marked lines, creating a crisp crease. Sew across the folded edge, reinforcing the seam with backstitches. Trim excess fabric close to the stitching for a clean finish. Turn the pouch right side out and press the corners with an iron to maintain their shape. This step ensures the pouch stands upright and maintains its flat bottom structure. The boxed corners add functionality and a professional touch to your handmade zippered pouch, making it perfect for storing small items with ease and style. This detail elevates the design from basic to polished.

Finishing Touches
Add the final touches with topstitching for a polished look and attach zipper tabs for easy opening. These details enhance both the appearance and functionality of your pouch.
Topstitching and Adding Zipper Tabs
Topstitching adds a professional finish to your pouch, emphasizing seams and creating a clean, polished look. Start by threading your machine with contrasting thread for visibility. Carefully stitch along the edges of the pouch, ensuring consistent spacing and straight lines. This step not only enhances aesthetics but also reinforces the seams for durability. For the zipper tabs, cut small fabric pieces and attach them to the ends of the zipper. Fold the tabs over the zipper ends and sew securely, making sure they align neatly with the pouch’s edges. This detail prevents the zipper from fraying and gives a finished appearance. These final touches elevate your pouch from functional to flawless, making it both stylish and long-lasting.
