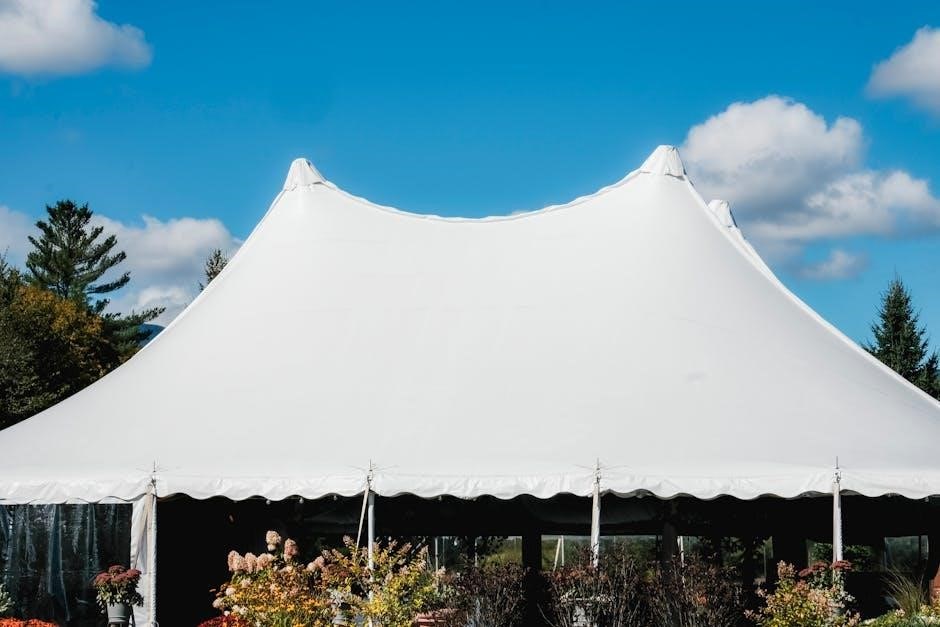
Setting up a canopy tent involves erecting a temporary shelter using collapsible frames. It’s easy to set up and ideal for outdoor events‚ ensuring portability and durability for various purposes.
1.1 Understanding the Basics of Canopy Tents
A canopy tent is a portable shelter with a collapsible frame‚ typically made of metal or PVC‚ and a durable fabric top. It provides shade or protection from the elements. Key components include the frame‚ canopy top‚ and legs. These tents are designed for easy assembly and disassembly‚ making them ideal for outdoor events‚ markets‚ or temporary shading solutions. Understanding the structure and purpose of canopy tents is essential for proper setup and use.
1.2 Importance of Proper Setup for Stability and Safety
Proper setup of a canopy tent is crucial for ensuring stability and safety. A well-secured tent withstands wind and weather conditions‚ preventing collapse. Improper setup can lead to instability‚ posing risks of injury or damage. Always follow manufacturer guidelines‚ tightening all connections and anchoring the tent firmly. This ensures a safe and durable shelter for any event or activity‚ providing peace of mind for users and bystanders alike.

Choosing the Right Canopy Tent for Your Needs
Selecting the right canopy tent involves considering size‚ portability‚ and durability. Look for lightweight frames‚ easy setup mechanisms‚ and weather-resistant materials to suit your specific outdoor needs.
2.1 Features to Look for in a Canopy Tent
When selecting a canopy tent‚ prioritize a sturdy‚ lightweight frame and durable‚ weather-resistant fabric. Look for easy setup mechanisms‚ such as push buttons or sliders‚ and ensure the tent includes secure anchoring options like ropes and stakes. Additional features like UV protection‚ adjustable height settings‚ and reinforced corners can enhance stability and safety. Choose a tent that balances portability with durability to meet your outdoor needs effectively.
2.2 Best Options for Solo Setup
For solo setup‚ opt for lightweight canopy tents with easy-to-extend legs and simple pop-up designs. A 10×10 pop-up canopy is ideal due to its portability and quick assembly. Look for frames with push buttons or sliders for effortless expansion. Additionally‚ consider models with compact storage bags for easy transport. These options ensure a hassle-free experience‚ allowing you to focus on enjoying your event rather than struggling with complex setups.

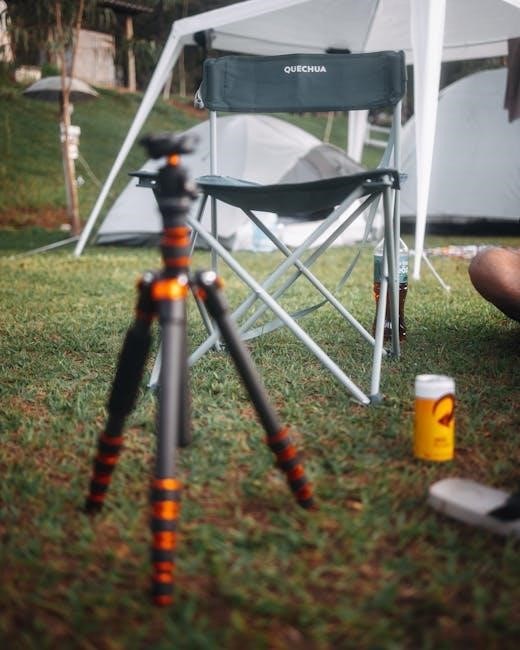
Preparing the Setup Site
Select a flat‚ stable area for your canopy tent‚ ensuring it’s free from sharp objects and debris. Clear the site to prevent damage and ensure a safe setup process.
3.1 Selecting a Flat and Clear Area
Always choose a flat and clear area for your canopy tent to ensure stability and safety. Avoid uneven ground or obstacles that could hinder setup or cause the tent to lean. A smooth surface also prevents damage to the tent’s fabric and frame. Clear away debris‚ rocks‚ and branches to create a safe environment for installation and use. Proper site selection is crucial for a successful setup.
3.2 Removing Sharp Objects and Debris
Before setting up your canopy tent‚ thoroughly inspect the area and remove any sharp objects or debris. This includes rocks‚ branches‚ and loose items that could damage the tent’s fabric or frame. Clearing the site ensures a stable base and prevents potential punctures or safety hazards. A clean surface also makes the setup process smoother and safer‚ allowing you to focus on securing the tent properly.
Step-by-Step Setup Instructions
Start by extending the frame‚ then attach the canopy top securely. Use ropes and stakes to anchor the tent firmly‚ ensuring stability and safety for outdoor events.
4.1 Extending the Tent Frame
Grip the tent trusses at the frame’s center and lift upward while pulling back to extend the frame. For pop-up canopies‚ partially expand the frame to ease attaching the canopy top. Ensure the frame is stable before proceeding. This step is crucial for creating a sturdy base for your shelter.
4.2 Attaching the Canopy Top
After extending the frame‚ drape the canopy top over the structure‚ ensuring it aligns with the frame’s corners. Secure each corner to the frame using Velcro straps or clips. Tighten evenly to avoid wrinkles and ensure a snug fit. This step ensures the canopy is properly attached‚ providing a sturdy and even surface for your shelter.
4.3 Securing the Tent with Ropes and Stakes
Once the canopy top is attached‚ use ropes and stakes to secure the tent. Tie the ropes to the frame’s corners and loop them around the stakes‚ driving them into the ground at a 45-degree angle. Ensure the tent is taut and evenly tensioned to prevent sagging. For added stability‚ tie ropes to the midpoints of the sides and stake them down. This ensures the tent remains secure in windy or rainy conditions.
Additional Tips for Solo Setup
Practice setup beforehand and use weights or sandbags for extra stability. Ensure the tent remains taut to withstand wind and rain effectively during solo installation.
5.1 Practicing the Setup Process

Practicing the setup process is essential for mastering solo canopy tent assembly. Start in a controlled environment‚ like your backyard‚ to familiarize yourself with the components and steps. Break the process into smaller tasks‚ such as frame extension and canopy attachment‚ to build confidence. Use online tutorials or manufacturer videos as guides. Regular practice reduces setup time and ensures a smooth‚ stress-free experience during actual events or trips.
5.2 Using Available Resources for Assistance
Utilize available resources like step-by-step guides‚ videos‚ and manufacturer instructions to assist with solo setup. Many canopy tents come with detailed manuals or online tutorials. Practice techniques like the “sliders and buttons” method for easier frame extension. Additionally‚ consider enlisting a second person for tasks like holding the frame steady or tightening ropes. Reaching out to the manufacturer for support can also resolve specific setup challenges quickly and effectively.

Maintenance and Storage
Regularly clean and dry the canopy to prevent mold. Store the tent in a cool‚ dry place‚ ensuring all parts are secure to extend its lifespan effectively.
6.1 Cleaning and Drying the Canopy
Regular cleaning is essential to maintain your canopy tent’s condition. Use mild soap and water to wipe down the fabric‚ avoiding harsh chemicals or abrasive materials. Rinse thoroughly and allow the canopy to air dry completely before storage to prevent mold or mildew growth. Proper drying ensures durability and keeps the fabric in good condition for future use.
6.2 Proper Storage to Extend Lifespan
Store your canopy tent in a clean‚ dry‚ and cool environment to prevent mold and mildew. Avoid folding the fabric when wet‚ as moisture can cause damage. Use the original storage bag or a durable alternative to protect the tent. Ensure all poles and hardware are securely packed and check for any damage before storage to maintain its condition and extend its lifespan effectively.

Troubleshooting Common Issues
Common issues include a wobbly frame or damaged fabric. Check all connections‚ tighten bolts‚ and use repair kits for tears. Ensure stability and safety always.
7.1 Dealing with a Wobbly or Unstable Frame
A wobbly frame can compromise safety and stability. Ensure the tent is on level ground and tighten all connections. Check for loose bolts or damaged parts; If unstable‚ adjust the frame’s alignment and secure it firmly with ropes and stakes. Avoid over-tightening‚ as this may cause warping. If issues persist‚ inspect for fabric or pole damage and repair or replace as needed to restore stability.
7.2 Repairing Damaged Fabric or Poles
For damaged fabric‚ use a repair kit with adhesive patches to seal tears. Clean the area first for better adhesion. Bent or broken poles should be replaced immediately to avoid further damage. Ensure all connections are tight and secure. If repairs are complex‚ consult the manufacturer’s manual or contact a professional to guarantee stability and safety. Regular inspections can prevent future issues and extend the lifespan of your canopy tent.
Advanced Setup Techniques
For enhanced stability‚ use anchoring kits and weight plates in windy conditions. Adjust the canopy angle and tension ropes properly for optimal performance and durability.
8.1 Using Anchoring Kits for Windy Conditions
For windy conditions‚ secure your canopy with an anchoring kit. Stake down each corner with heavy-duty stakes and tighten ropes to prevent swaying. Use sandbags or weights for added stability. Ensure the tent is tightly anchored to withstand strong gusts. Regularly inspect the anchors and adjust as needed to maintain a firm hold. This method ensures your canopy remains stable and secure in adverse weather.
8.2 Adding Weight Plates for Extra Stability
Enhance your canopy’s stability by attaching weight plates to the legs. Position weights evenly on each side‚ ensuring balance. Use at least 20-30 pounds per leg for optimal security. Tighten straps firmly to prevent shifting. This method is ideal for windy or uneven surfaces‚ providing extra grip and preventing the tent from tipping. Regularly check weights and adjust as needed to maintain stability and safety during events.
Successfully setting up a canopy tent ensures a safe and enjoyable outdoor experience. Always follow instructions‚ prioritize stability‚ and maintain your tent for long-lasting durability and portability. Happy camping!
9.1 Recap of Key Setup Steps
To ensure a successful canopy tent setup‚ start by selecting a flat‚ clear area and removing debris. Extend the frame partially‚ then attach the canopy top securely. Use ropes and stakes to anchor the tent firmly‚ ensuring stability. Practice the setup process to improve efficiency and safety. Always follow the manufacturer’s instructions and consider weather conditions for a durable and enjoyable outdoor experience.
9.2 Final Tips for a Successful Canopy Tent Experience
Regularly inspect and maintain your canopy tent to ensure longevity. Practice setup beforehand to save time and reduce stress during events. Always secure the tent with additional weights or anchors‚ especially in windy conditions. Keep essential tools nearby for quick adjustments. Finally‚ stay prepared for varying weather by having a backup plan‚ ensuring your outdoor event remains enjoyable and stress-free.